1) Create a Temp folder on your harddrive.
Name this folder: AVP_DVD. This will be the name (Label) of our DVD.
2) Inside this AVP_DVD folder create another 5 folders.
Name these folders:
AVP1
AVP2
AVP2_PH
Cracks
Updates
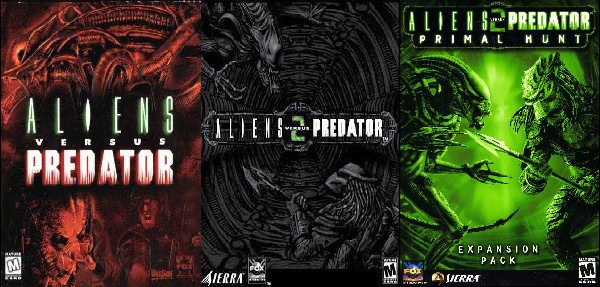
3) Copy the Aliens vs Predator 1 CD to the AVP1 folder.
4) Copy the Aliens vs Predator 2 CD1 to the AVP2 folder.
5) From the Aliens vs Predator 2 CD2 copy the ‘DirectX’ and the ‘Gamespy’ folders to the AVP2 folder.
6) Also from CD2 copy the ‘data3.cab’ file to the AVP2 folder.
7) Copy the Aliens vs Predator 2 Primal Hunt CD to the AVP2_PH folder.
8) Create another 2 folders inside the ‘Updates’ folder.
Name these 2 folders: AVP1_Update and AVP2_Update.
9) Copy the AVP_Build98_Update.exe to the AVP1_Update folder.
NOTE: Make sure the file is named exactly ”AVP_Build98_Update.exe” (without the quotations)
When using the update AVP1 button on the Custom Menu it will open a window for you to choose the location to extract the files too. Choose the location where you installed AVP1. This will update the game.
10) Copy the AVP2_v1096 Update to the AVP2_Update folder. Rename the file to AVP2_v1096_Update.exe.
NOTE: Clicking the AVP2 Update button on the Menu will start the actual Update so the file MUST be named AVP2_v1096_Update.exe.
11) Create another 3 folders inside the ”Cracks” folder.
Name these 3 folders: AVP1_NoCD, AVP2_NoCD and AVP_PH_DVD
Copy the correct NoCD cracks to these folders.
12) Download my AVP Custom Menu here. View the Menu here.
Extract the contents of the AVP_DVD_Menu.rar file to the AVP_DVD folder.
13) Burn the contents of the AVP_DVD folder to a DVD using the Label: AVP_DVD
NOTE: At the end of the AVP2 install you will be prompted to insert Disc 1. Just Press ”OK” to continue.
Do this conversion on a DVD-RW first to make sure you have it all correct!
If the File names etc are not correct the Menu Buttons will NOT work!
END NOTE: I would like to thank ‘PSIONIC’ for his excellent artwork used as the Menu Picture.

